

There’s just something magical about sliders. They’re tiny, handheld bites of comfort that pack the full cheeseburger experience into a single mouthwatering morsel. And these cheeseburger sliders? Oh, they’re the real deal. They’re juicy, cheesy, and come together in no time—perfect for game days, family get-togethers, or even a quick dinner when you’re short on time but big on hunger.
Sliders remind me of summers at the lake, where the grill was the star of every gathering. We’d line up buns, patties, and every topping imaginable, building little towers of flavor. It’s those memories that inspired this recipe—a straightforward take that brings all the joy of classic cheeseburgers into one fun, shareable meal.
What Makes These Sliders Special?
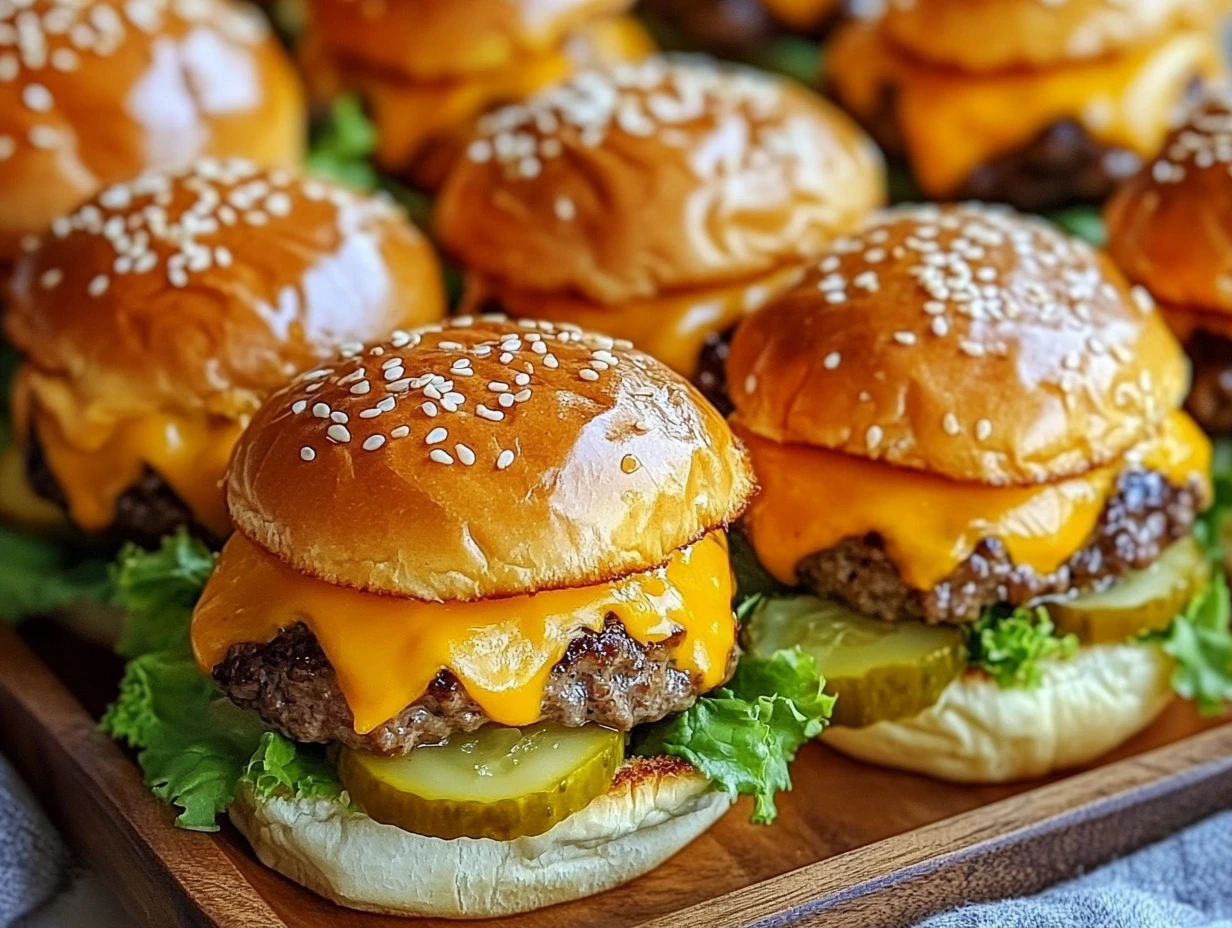
These sliders aren’t just ordinary mini burgers. They’re designed to deliver maximum flavor in every bite. The patties are seasoned to perfection with garlic and onion powder, giving them a deep, savory base. And the secret? Using an 80/20 ground beef blend for the ultimate juiciness. Each slider gets crowned with gooey cheddar, tangy pickles, and your choice of fresh veggies, all sandwiched in a soft, buttery bun.
Ready to dive in? Let’s break it down step by step.
The Ingredients You’ll Need
For the patties, you’ll keep it simple:
- Ground beef: Stick with 80/20 for juicy results.
- Seasonings: Garlic powder, onion powder, salt, and a dash of pepper.
For assembly:
- Slider buns: Soft, fluffy buns make all the difference.
- Cheddar cheese: Sharp or mild, sliced to melt perfectly.
- Pickles and veggies: Dill pickles, lettuce, and tomatoes for classic toppings.
- Condiments: Go for ketchup, mustard, mayo—or all three!
- Finishing touch: Melted butter brushed on top with optional sesame seeds for garnish.
Step 1: Prepping the Patties
First things first, preheat your oven to 375°F (190°C) or fire up your grill to medium-high. I personally love the smoky flavor a grill adds, but baking is just as easy and delivers consistent results.
In a large mixing bowl, gently combine the ground beef with garlic powder, onion powder, salt, and black pepper. The key here is to mix gently—overworking the meat can lead to dense patties. Divide the mixture into 12 small patties, shaping them slightly larger than your slider buns. Trust me, they’ll shrink a bit while cooking, so this step ensures they’ll fit perfectly.
Step 2: Cooking the Patties
Place your patties on the grill or a baking sheet if you’re using the oven. Cook them for 3-4 minutes on each side, flipping carefully to retain their shape. Aim for your preferred doneness—medium is a great choice for juicy sliders.
Here’s a pro tip: during the last minute of cooking, place a half slice of cheddar cheese on each patty. The heat will melt it just enough to get that oozy, irresistible layer of goodness.
Let’s Assemble!
Now that your patties are cooked and cheesed up, it’s time to start building. Begin by slicing your slider buns in half. If you like a little crunch, toast the buns lightly before assembly—it adds a fantastic texture contrast.
Place a patty on the bottom half of each bun. Add a dill pickle slice on top of the cheese, then layer on lettuce, a tomato slice, or any other toppings you love. Don’t forget the condiments—whether you’re a ketchup purist, a mustard enthusiast, or a mayo fan, this is your moment to customize.
Finally, crown each slider with the top half of the bun, pressing gently to hold everything together.
Step 3: The Finishing Touch
Now that your sliders are assembled, you could stop here and have a perfectly delicious meal. But why stop at good when you can go for amazing? Enter the buttery bun glaze.
Melt 2 tablespoons of butter in the microwave or on the stovetop and grab a brush. Gently coat the tops of the buns with the melted butter for a golden, glossy finish. If you’re feeling fancy (and I highly recommend it), sprinkle a few sesame seeds on top for that classic burger-shop vibe.
Pro tip: Adding a sprinkle of sesame seeds not only looks great but also adds a subtle nutty flavor that pairs beautifully with the richness of the beef and cheese.
Step 4: Bake for Perfection (Optional but Worth It!)
Here’s where the magic happens. If you’re assembling these ahead of time for a party or just want that extra touch of warmth and meltiness, pop the fully assembled sliders into the oven. Arrange them on a baking sheet and bake at 375°F (190°C) for about 5-7 minutes, just until the cheese is gooey, and the buns are lightly crisped. This step ties all the flavors together and gives the sliders a freshly made feel.
Serving Your Cheeseburger Sliders
Once your sliders are out of the oven, arrange them on a platter for serving. Whether you’re hosting a party, feeding a hungry family, or treating yourself, the presentation adds a little flair. You can serve them alongside some crispy fries, onion rings, or a simple side salad for a balanced meal.
If you’re hosting a crowd, consider setting up a DIY slider bar. Lay out extra toppings—like sautéed onions, crispy turkey bacon, jalapeños, or avocado slices—so guests can customize their sliders to their heart’s content. It’s interactive, fun, and a guaranteed hit.

Pro Tips for Perfect Sliders Every Time
- Don’t Overpack the Patties: When shaping the patties, handle the beef lightly. Overmixing or compacting the meat too much can lead to tough burgers.
- Cheese Timing is Key: Add the cheese just before the patties are done cooking. The residual heat will melt it perfectly without it slipping off.
- Toasted Buns Make a Difference: A quick toast adds texture and prevents sogginess, especially if you’re adding a lot of juicy toppings or condiments.
- Layer Thoughtfully: Always place wet toppings like pickles or tomatoes above the cheese, not directly on the bun, to keep the buns from getting soggy.
- Keep It Warm: If you’re making sliders for a party, keep them warm by covering the tray with foil and placing it in the oven on low heat (about 200°F).
Creative Variations to Try
One of the best things about sliders is how versatile they are. While the classic cheeseburger version is always a winner, there’s plenty of room to get creative. Here are a few ideas to take your sliders to the next level:
- BBQ Turkey Bacon Sliders: Swap out the ketchup for smoky barbecue sauce, add crispy turkey bacon, and finish with a sprinkle of fried onions.
- Spicy Sriracha Sliders: Mix a teaspoon of sriracha into your mayo for a spicy kick. Add pickled jalapeños for even more heat.
- Hawaiian Sliders: Add a slice of pineapple, teriyaki sauce, and Swiss cheese for a tropical twist.
- Breakfast Sliders: Top the patty with a fried egg, crispy turkey bacon, and a drizzle of maple syrup for a brunch-worthy treat.
- Veggie-Loaded Sliders: Skip the meat altogether and use a plant-based patty. Stack it high with grilled mushrooms, avocado, and roasted red peppers.
Tips for Feeding a Crowd
Sliders are a host’s best friend—they’re quick to assemble, easy to eat, and loved by everyone. Here’s how to streamline the process when feeding a crowd:
- Prep Ahead: Shape and season your patties in advance. Store them in the fridge until you’re ready to cook.
- Use a Baking Sheet: Cook your patties in batches on a large baking sheet if you’re baking instead of grilling. This saves time and keeps everything uniform.
- Keep the Toppings Organized: Use small bowls or ramekins for each topping so guests can grab what they want without digging through a pile.
FAQ and Final Touches
By now, your cheeseburger sliders are looking irresistible, and you’re ready to impress everyone at the table. But before we wrap things up, let’s tackle some common questions and troubleshooting tips to make sure your sliders turn out perfectly every time.
FAQ Section
1. Can I make the patties ahead of time?
Absolutely! You can shape the patties and season them up to 24 hours in advance. Just store them in an airtight container in the refrigerator. When you’re ready to cook, take them out about 15 minutes early to let them come to room temperature for even cooking.
2. What’s the best way to reheat sliders?
If you have leftovers (lucky you!), reheat them in the oven at 300°F (150°C) for 5-7 minutes to warm them without drying out the buns. Avoid microwaving, as it can make the bread rubbery.
3. Can I freeze cheeseburger sliders?
Yes! To freeze, assemble the sliders without the fresh toppings (like lettuce and tomato). Wrap each slider in plastic wrap, then store them in a freezer-safe bag. When ready to enjoy, thaw them in the fridge and reheat in the oven as described above.
4. What toppings work best for sliders?
The classics—pickles, lettuce, tomato, and condiments—are always a win. But don’t be afraid to get creative with sautéed mushrooms, caramelized onions, spicy jalapeños, or even a fried egg for a gourmet twist.
5. How do I keep the sliders from getting soggy?
Toast the buns lightly before assembly, and always place condiments or wet toppings like pickles and tomatoes on top of the patty instead of directly on the bun.
6. Can I make sliders with different meats?
Of course! Ground turkey, chicken, or lamb are great alternatives to beef. You can even use plant-based patties for a vegetarian option.
7. What side dishes pair well with sliders?
Sliders are incredibly versatile and pair well with almost anything. Popular options include French fries, onion rings, coleslaw, or a fresh green salad. For a unique twist, try sweet potato fries or loaded nachos.
Conclusion: Bite-Sized Joy
And there you have it—a recipe for cheeseburger sliders that’s as fun to make as it is to eat. Whether you’re hosting a big party, prepping a family dinner, or simply treating yourself to some comfort food, these sliders are guaranteed to deliver smiles all around.
One of the best things about this recipe is how customizable it is. From classic cheeseburgers to gourmet variations, you can make it your own every time. And let’s not forget—they’re the perfect size for sampling multiple flavors in one sitting.
If you try this recipe, let me know how it goes! I’d love to hear what toppings or variations you came up with. Don’t forget to share your photos and feedback in the comments below. Who knows—you might inspire someone else’s next slider masterpiece!
Happy cooking, and enjoy every juicy, cheesy bite.
Print
Cheeseburger Sliders
- Total Time: 25 mins
Description
These bite-sized cheeseburger sliders are perfect for parties, game days, or quick dinners. Juicy beef patties, melted cheddar cheese, and classic toppings come together in soft slider buns for a crowd-pleasing treat.
Ingredients
For the Patties:
- 1 lb ground beef (80/20 blend for juiciness)
- 1 tsp garlic powder
- 1 tsp onion powder
- ½ tsp salt
- ¼ tsp black pepper
For Assembly:
- 12 slider buns
- 6 slices cheddar cheese, halved
- Dill pickle slices
- Lettuce leaves (optional)
- Sliced tomatoes (optional)
- Ketchup, mustard, or mayonnaise (optional)
- 2 tbsp butter, melted
- 1 tsp sesame seeds (optional, for garnish)
Instructions
1️⃣ Prepare the Patties:
Preheat your oven to 375°F (190°C) or heat your grill to medium-high.
In a large bowl, combine the ground beef with garlic powder, onion powder, salt, and pepper. Mix gently to avoid overworking the meat.
Divide the beef mixture into 12 small patties, making them slightly larger than the buns to account for shrinkage during cooking.
2️⃣ Cook the Patties:
Grill or bake the patties for 3-4 minutes per side, or until they reach your desired level of doneness.
3️⃣ Assemble the Sliders:
During the last minute of cooking, place a piece of cheddar cheese on each patty to melt.
Slice the slider buns in half and lightly toast them if desired.
Place the cooked patties on the bottom buns. Add pickles, lettuce, tomato, and condiments of your choice. Cover with the top buns.
4️⃣ Finish and Serve:
Brush the tops of the buns with melted butter and sprinkle with sesame seeds if desired.
Arrange the sliders on a platter and serve warm.
Notes
- For extra flavor, try adding a splash of Worcestershire sauce to the beef mixture.
- You can substitute cheddar cheese with your favorite variety, like Swiss or pepper jack.
- Sliders can be kept warm in the oven at a low temperature (around 200°F/93°C) if serving later.
- Prep Time: 10 mins
- Cook Time: 15 mins
